
How to Add Custom Windows Templates on Virtualizor - Step by Step Guide
- By Anis Ur Rahman
- 21 Apr, 2025
Last Updated: March 2026
Setting up Windows VMs manually every time? That's wasted hours.
A custom Windows template on Virtualizor KVM lets you deploy a ready-to-run Windows VPS in minutes — not hours. This guide shows you exactly how to do it. Step by step. No fluff.
What Is a Windows Template in Virtualizor?
A Windows template is a pre-built disk image. When you create a new VM, Virtualizor clones it instantly — no installation wizard, no manual clicking.
Think of it like a cookie-cutter. Build the shape once, use it forever.
Virtualizor supports KVM virtualization. KVM templates are stored as `.qcow2` or `.img` disk files on your server. Once registered in the panel, they appear as OS options when deploying any new VM.
Who Should Use This Guide?
This is for you if you are:
A VPS hosting provider running Virtualizor on KVM
A sysadmin managing multiple Windows servers
A reseller who needs fast, repeatable VM deployments
A DevOps engineer automating Windows VPS provisioning
Two Ways to Set Up Windows on Virtualizor KVM
Read the Complete Guide for 2025: Cheap VPS Hosting in Bangladesh
Before we start, know your options:
This guide covers all three methods.
Prerequisites
Make sure you have these ready:
Virtualizor 4.0+ installed and running
KVM-enabled server (Intel VT-x or AMD-V active in BIOS)
Official Windows ISO (Server 2019, 2022, or Windows 10/11)
SSH root access to the server
At least 50 GB of free disk space
Valid Windows license for production use
Part 1 — How to Upload a Windows ISO to Virtualizor
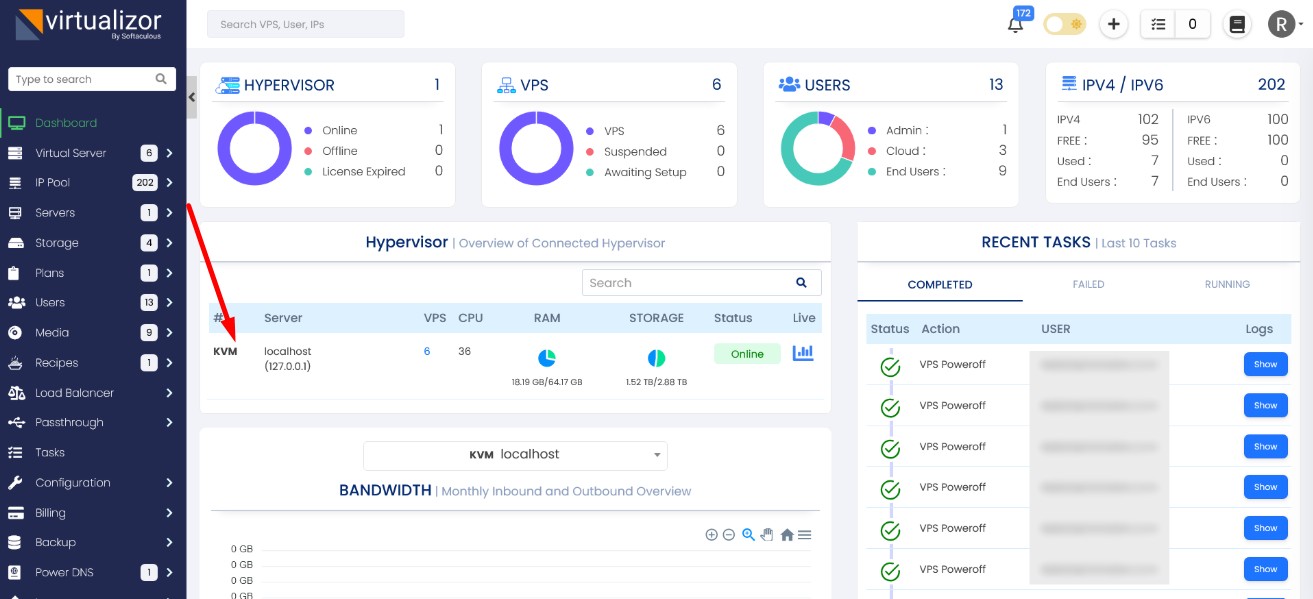
Step 1: Log in to the Admin Panel
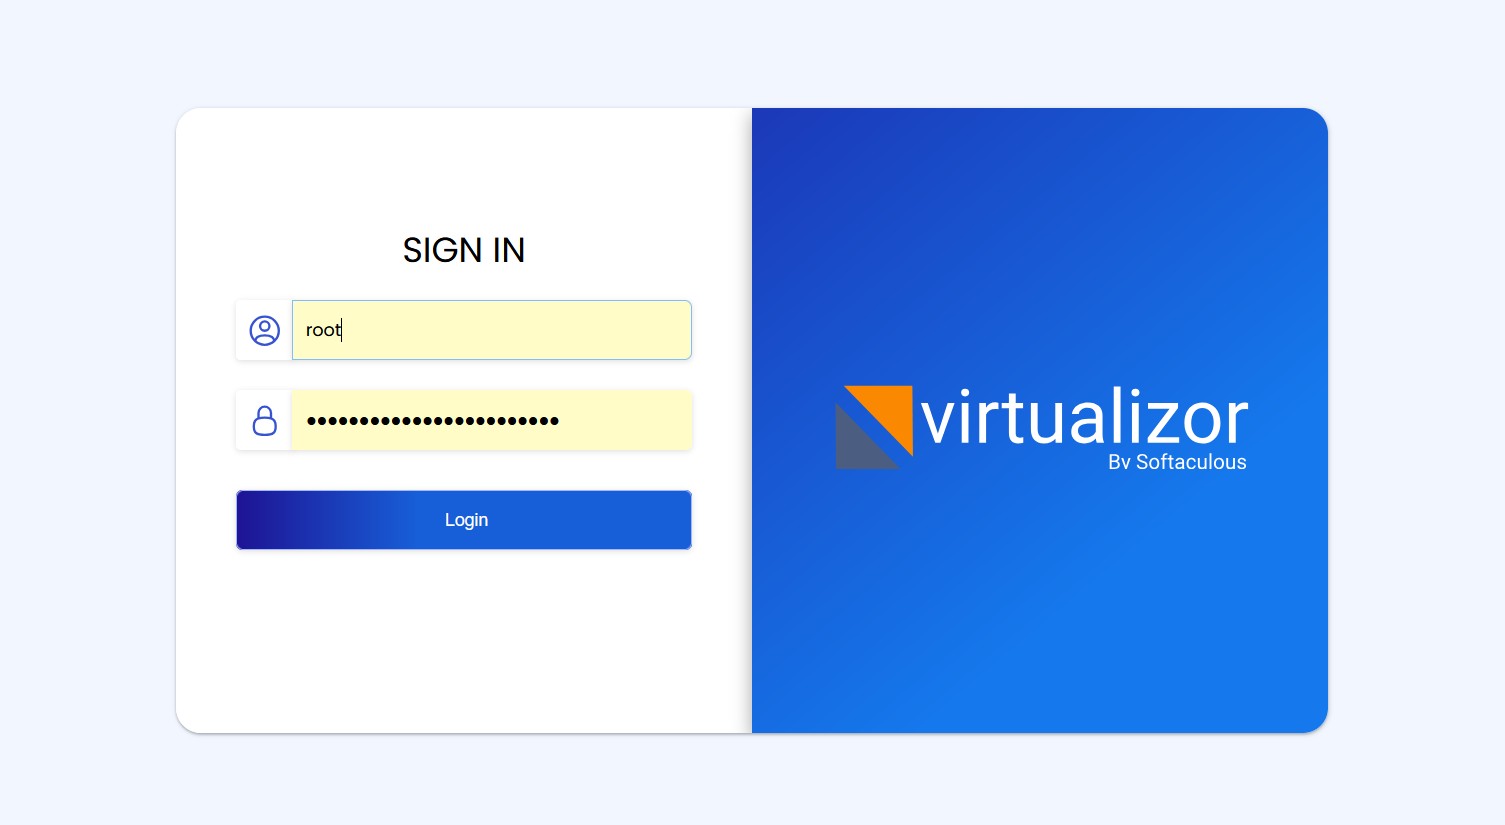
Go to your Virtualizor admin panel: https://your-server-ip:4085
Log in with admin credentials.
Step 2: Go to the ISO Manager
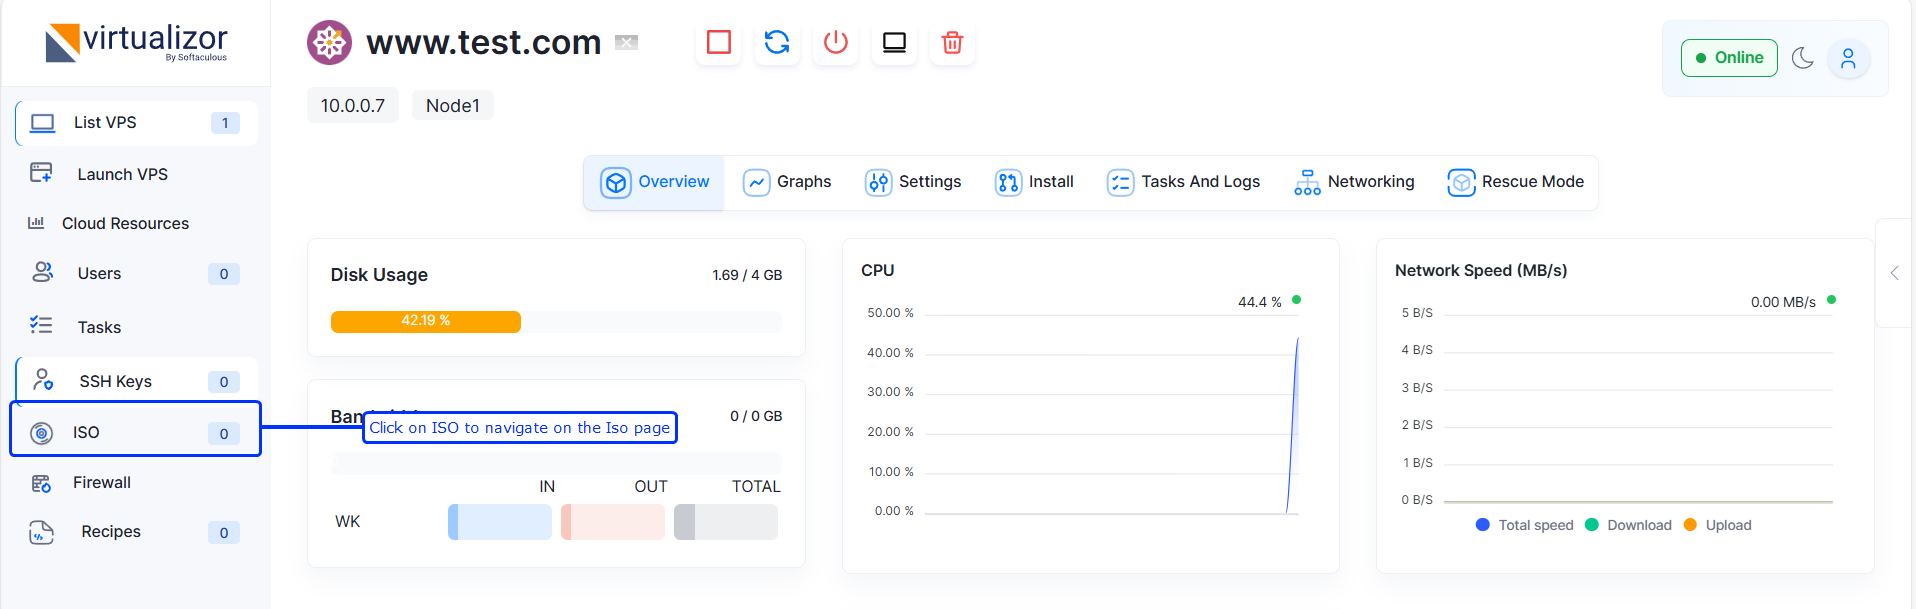
From the left sidebar, navigate to:
Media → ISOs → Add ISO
Step 3: Add Your Windows ISO
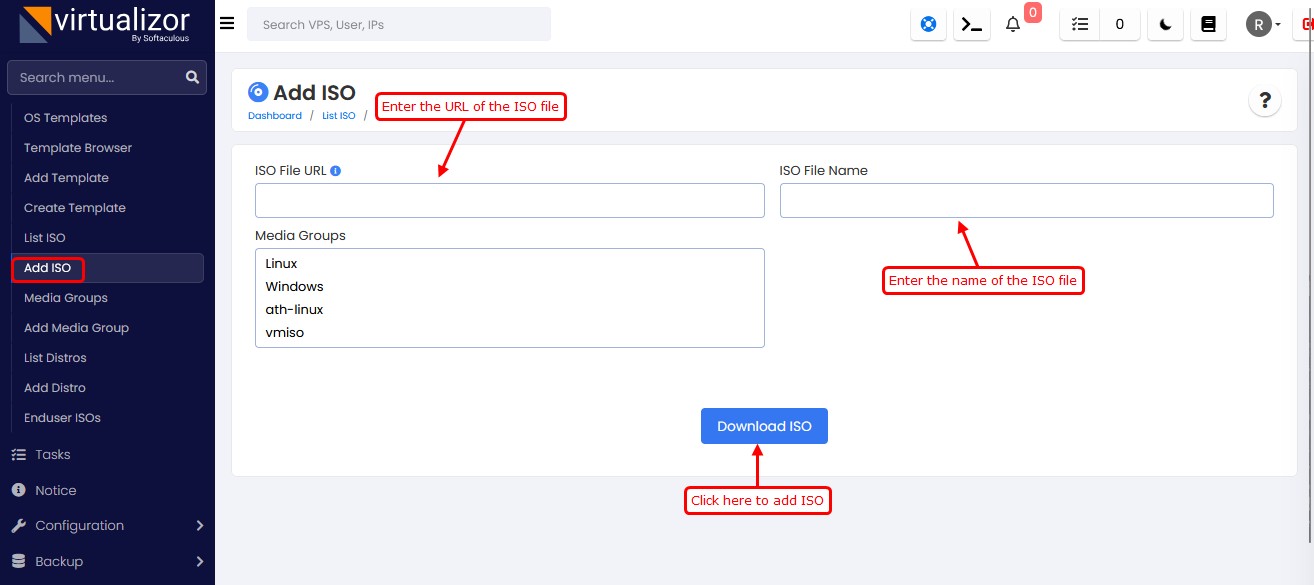
Option A — Add via URL
Paste the direct download link. Virtualizor fetches it automatically.
Option B — Upload via SCP
Transfer the file directly to your server:
bash
scp windows_server_2022.iso root@your-server-ip:/var/virtualizor/iso/
Then register it in the panel by entering the file path.
Step 4: Confirm the ISO Is Listed
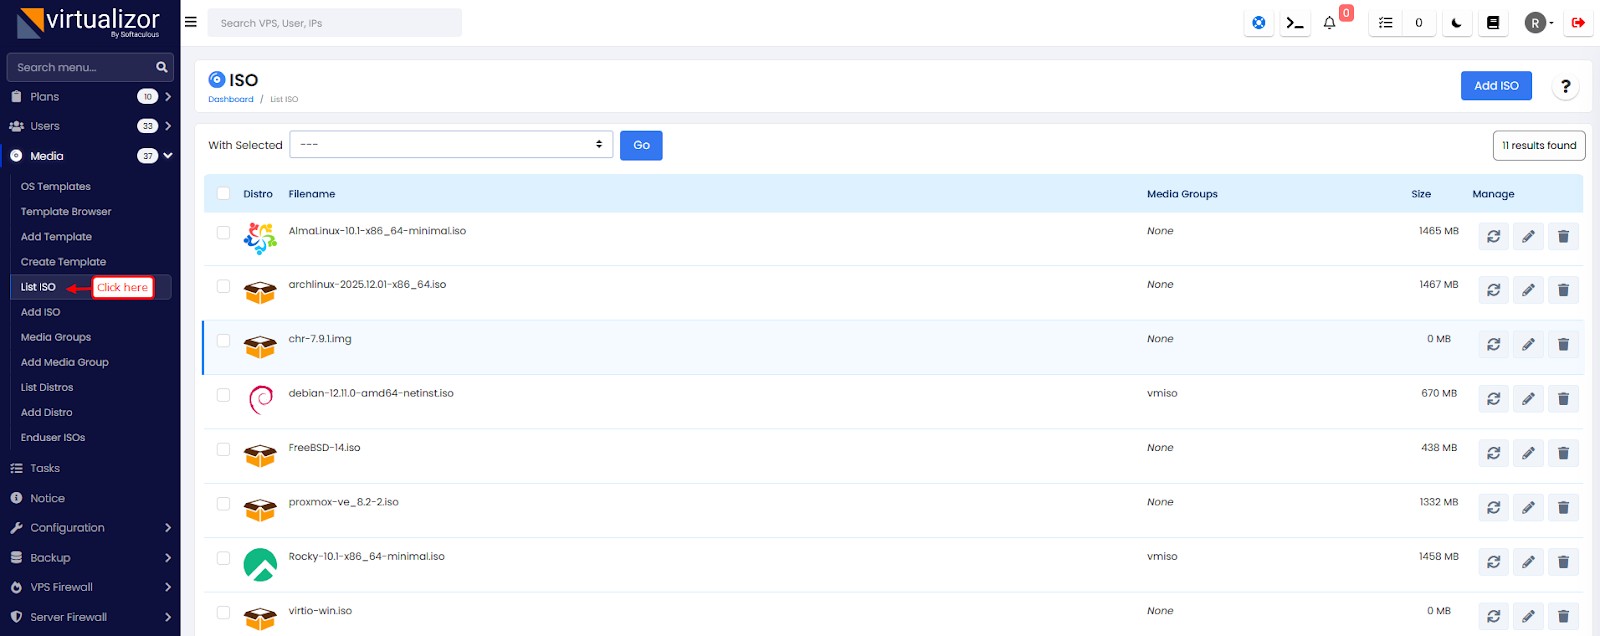
Go to Media → ISOs and verify it appears. If it's missing, fix permissions:
bash
chmod 644 /var/virtualizor/iso/windows_server_2022.iso
Part 2 — How to Create a Windows VM (Your Template Base)
Step 5: Create a New KVM Virtual Machine
Go to VMs → Add VM and configure it:
Click Add VM.
Step 6: Install Windows (Manual or Unattended)
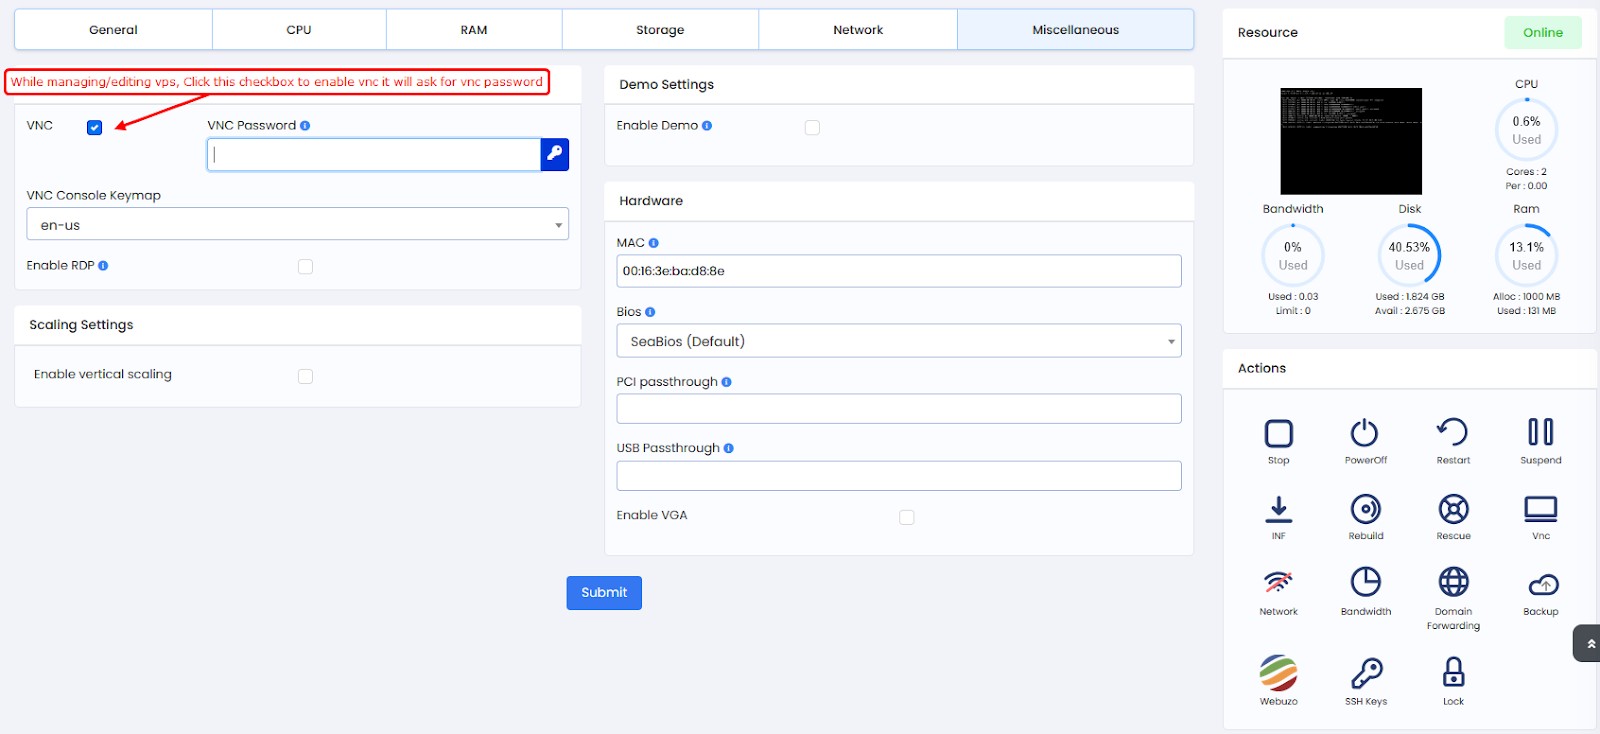
Manual method: Connect via VNC from the Virtualizor panel. Follow the Windows setup wizard normally.
Automated method (recommended): Use an `Autounattend.xml` file.
What Is Autounattend.xml?
It's a Microsoft XML configuration file. It answers every Windows setup prompt automatically — disk partitioning, language, admin password, everything.
You mount it as a second ISO alongside your Windows ISO. The installer reads it and runs without any user input.
A basic structure looks like this:
xml
<?xml version="1.0" encoding="utf-8"?>
<unattend xmlns="urn:schemas-microsoft-com:unattend">
  <settings pass="windowsPE">
    <component name="Microsoft-Windows-Setup">
      <DiskConfiguration>...</DiskConfiguration>
      <ImageInstall>...</ImageInstall>
    </component>
  </settings>
</unattend>
Pro Tip: Use the free Schneegans Unattend Generator to build a valid `Autounattend.xml` in under 5 minutes—no XML knowledge needed.
Can Windows Server be installed unattended on KVM? Yes — fully supported.
Step 7: Configure Windows After Installation
Once Windows is running, do these tasks inside the VM:
Install VirtIO drivers — critical for KVM disk and network performance
Enable RDP (Remote Desktop) for remote access
Run Windows Updates fully
Remove bloatware and unnecessary software
Set a static admin password
These steps ensure your template is clean, optimized, and ready for production use.
Why VirtIO matters: Without VirtIO drivers, your Windows VM uses slow emulated hardware. With them, you get near-native performance on KVM. Always install before building the template.
Step 8: Shut Down the VM Completely
Never convert a running VM. Shut it down fully:
bash
virsh shutdown your-vm-name
Wait until the status shows `shut off` before moving on.
Part 3 — How to Build and Register the Custom Template
Step 9: Locate the VM Disk Image
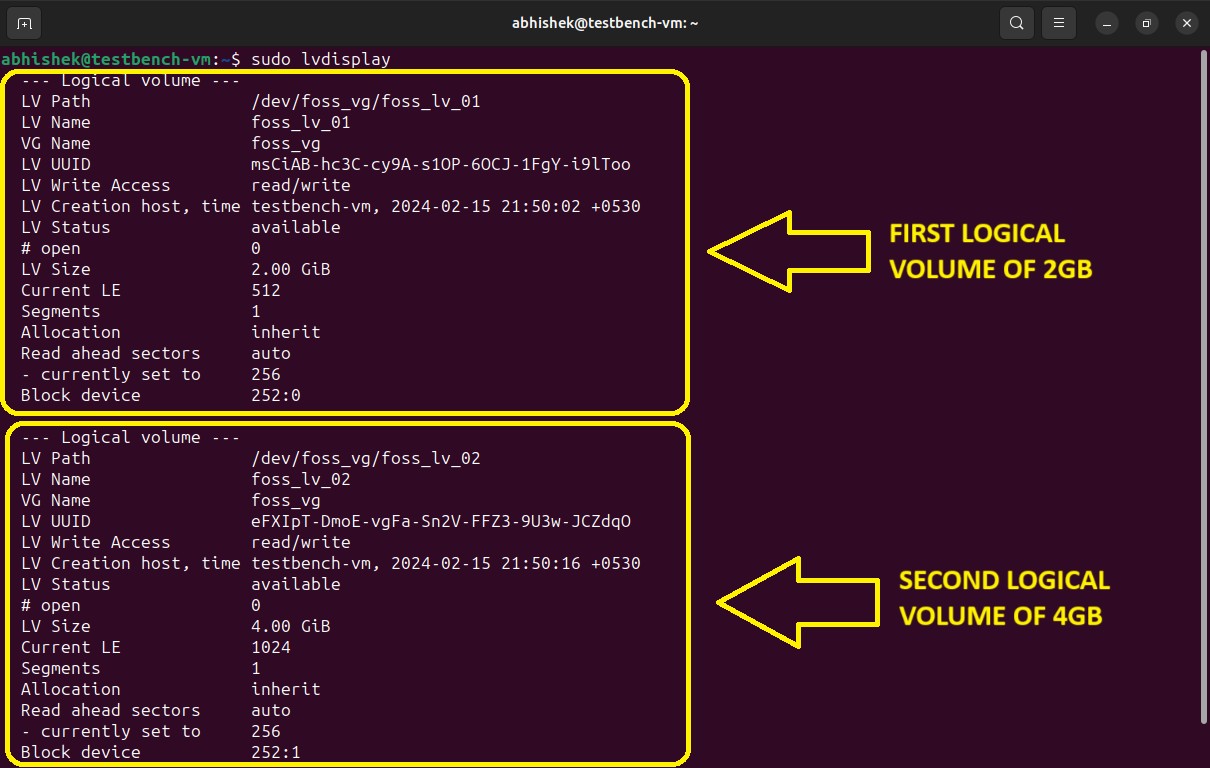
Your KVM disk images are stored at:
/dev/vz/ ← if using LVM storage
/var/lib/vz/images/ ← if using file-based storage
Find your VM's disk:
bash
ls /dev/vz/ | grep your-vm-id
Step 10: Convert the Disk to qcow2 Format
Run this conversion command:
bash
qemu-img convert -f raw -O qcow2 /dev/vz/your-disk \
/var/virtualizor/templates/windows_server_2022.qcow2
The default Virtualizor template folder location is:
/var/virtualizor/templates/
This is where all your OS templates must live.
Step 11: Register the Template in Virtualizor
In the admin panel, go to:
Configuration → OS Templates → Add OS Template
Fill in the fields:
Click Save.
Step 12: Test the Template
Create a test VM using your new template. Verify:
VM boots correctly
RDP access works
Network is functional
Disk performance is normal (VirtIO active)
If everything checks out, your template is live and ready.
Troubleshooting Common Template Issues
Template Not Showing in Virtualizor?
Check three things:
File is in `/var/virtualizor/templates/`
Filename matches exactly what you entered in the panel
File permissions are correct:
bash
chmod 644 /var/virtualizor/templates/windows_server_2022.qcow2
Template Upload Failed?
Common causes and fixes:
Disk full — check with `df -h`, free up space
Wrong format — Virtualizor KVM needs `.qcow2` or `.img.`
Corrupted file — re-download the ISO or redo the conversion
Windows VM Running Slowly?
VirtIO drivers are almost certainly missing. Boot the VM, install VirtIO from the official Fedora VirtIO ISO, then rebuild the template.
Deployment Checklist
Use this before going live:
Windows ISO uploaded and registered
KVM VM created with correct specs
Windows installed (manual or unattended)
VirtIO drivers installed inside the VM
Windows fully updated
VM completely shut down
Disk converted to `.qcow2`
Template file in `/var/virtualizor/templates/`
Template registered in the admin panel
Test VM deployed and verified
Frequently Asked Questions
Q: How do I add an OS template to Virtualizor?
Go to Configuration → OS Templates → Add OS Template. Enter the filename, select KVM, and save.
Q: Where is the template folder in Virtualizor?
The default path is `/var/virtualizor/templates/` on your server.
Q: What ISO files does Virtualizor KVM support?
Standard `.iso` files. For Windows, use official Microsoft ISOs — Server 2019, Server 2022, Windows 10, or Windows 11.
Q: What is Autounattend.xml used for?
It fully automates the Windows installation. No manual clicks needed. Mount it as a secondary ISO, and Windows sets itself up using the file's instructions.
Q: Can I use Windows Server on Virtualizor KVM?
Yes. Windows Server 2019 and 2022 work fully on Virtualizor KVM. Ensure VirtIO drivers are installed in the template.
Q: What is KVM virtualization?
KVM (Kernel-based Virtual Machine) is an open-source hypervisor technology built into Linux. It runs isolated VMs — including Windows — with near-native performance.
Q: Why does my template keep failing to deploy?
Most common cause: the VM wasn't fully shut down before conversion. Always confirm `virsh shutdown` completes before running `qemu-img convert`.
Final Word
Custom Windows templates on Virtualizor KVM are not complex. The process is 12 steps. Do them in order. The payoff: you stop repeating the same 40-minute installation. Every Windows VPS deploys in under 5 minutes. Your clients get faster service. You save real hours every week.
Build the template once. Deploy it forever.
Learn More Relevant Guide:
RDP Security Best Practices and Tips
Authentication & Access Control Guide
Top RDP Price in Bangladesh 2025

Author By
Anis Ur Rahman
Anis Ur Rahman writes domain and web hosting–related articles on behalf of Ummah Host BD. He works with domain name selection, web hosting, BDIX hosting, and website performance, and creates informational guides based on practical experience to help users make informed decisions. His writing focuses on providing reliable, easy-to-understand, and decision-supportive content.
Search Blog
Categories
- RDP Hosting 4
- SMS Service 16
- IP Number 11
- Reseller Hosting 5
- Promo Offer 2
- Achieve 3
- SSD Hosting 5
- cPanel Hosting 7
- BDIX Hosting 7
- Email Hosting 4
- Dedicated Server 7
- User Guide 0
- Security 4
- Online security 6
- Business 5
- SEO 3
- VPS Hosting service 11
- Manage Hosting 1
- domain hosting service 29
- Domain 1
- Hosting 28


